

Why These Three Spaces Deserve More Attention
Most homeowners focus their maintenance efforts on what they can see and use every day - the roof, the HVAC system, the kitchen plumbing. But crawl spaces, attics, and basements operate on a different timeline. Problems there develop slowly and silently, often going unnoticed until they've caused structural damage, driven up energy bills, or created conditions that affect air quality throughout the house.
The good news: most of what goes wrong in these spaces starts with visible, recognizable signs. A flashlight, a few minutes of your time, and a basic checklist are usually enough to catch the early stages of moisture intrusion, insulation failure, or pest activity. The tips below cover what to look for in each area and how frequently to inspect. For a broader seasonal approach, the Spring Home Maintenance Checklist is a useful companion resource.
Crawl Space: Watch for Moisture First
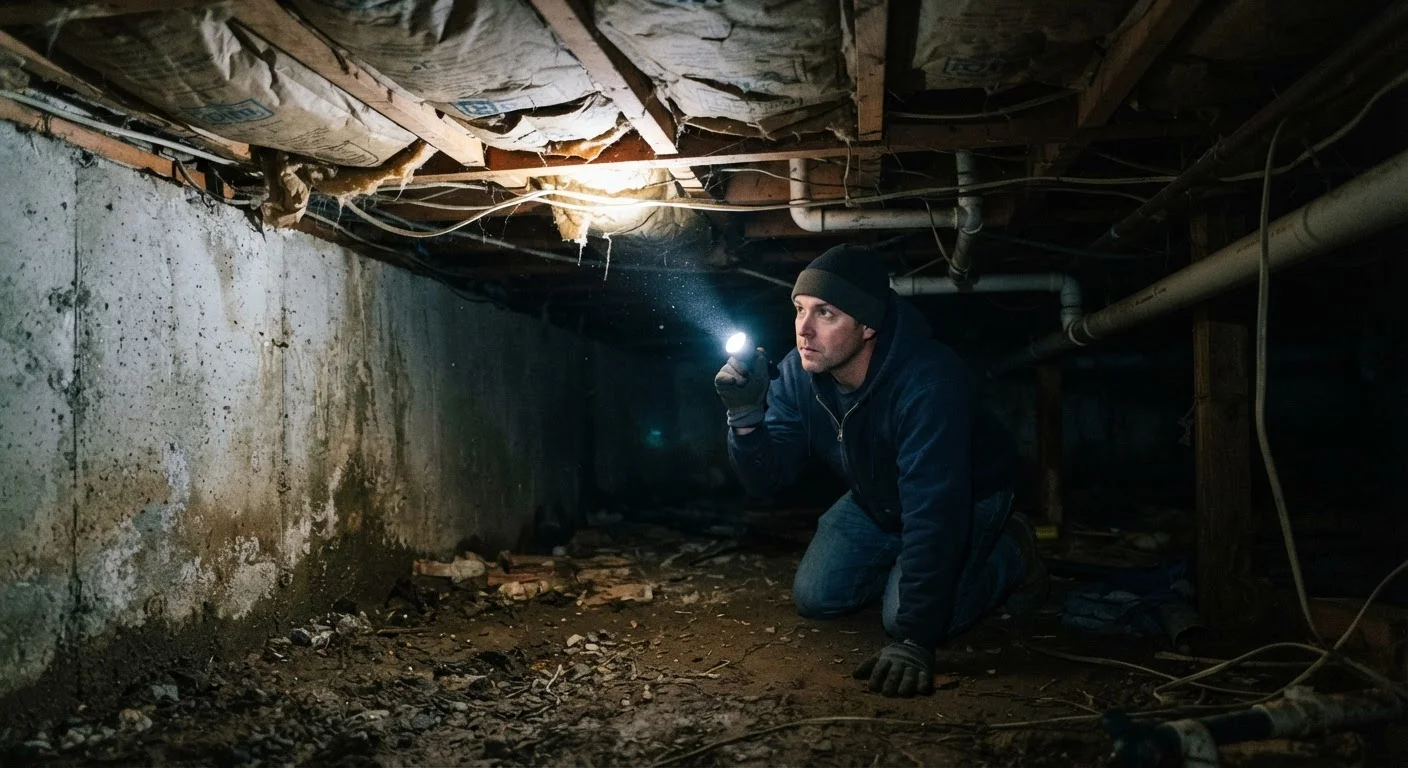
A crawl space is essentially a buffer zone between the ground and your home's floor system - and ground moisture is its primary enemy. During your inspection, look for standing water, damp soil, efflorescence (white mineral deposits) on concrete blocks, or condensation on pipes and floor joists. Any of these signals that moisture is entering and lingering.
Check the vapor barrier - typically a plastic sheeting laid across the soil floor. Tears, gaps, or missing coverage allow soil moisture to evaporate directly into the crawl space. Wood rot on joists or beams, or dark staining on wood surfaces, may indicate moisture exposure over time. Also look for sagging insulation between floor joists, which often means it has absorbed moisture and lost its effectiveness.
Inspect at minimum once a year, and always after heavy rain events or a wet winter season.
Even small tears in a vapor barrier allow enough moisture to rot floor joists over time.
Crawl Space: Don't Overlook Pest Signs
Crawl spaces are a preferred entry point for rodents, termites, and other wood-destroying insects. During your inspection, look for rodent droppings, gnawed insulation or wiring, and nesting material. Termite activity may appear as mud tubes running along foundation walls or wood joists - these pencil-width tunnels are a clear warning sign that requires professional evaluation.
Pay attention to any gaps where pipes or conduit enter the foundation. These are common pest entry points and can often be sealed with appropriate filler materials. If you notice any wiring in the crawl space that shows signs of gnawing, contact a licensed electrician before doing anything else - damaged wiring is a fire hazard.
Mud tubes along foundation walls are a reliable early indicator of termite activity.
Attic: Insulation and Ventilation Are Linked
An attic inspection covers two systems that work together: insulation and ventilation. Poor insulation drives up heating and cooling costs; poor ventilation leads to moisture buildup that damages the roof structure from the inside. Start by checking insulation depth and coverage - insulation that's thin, compressed, or absent in spots allows conditioned air to escape through the ceiling below.
Then assess ventilation. Look for soffit vents (at the eaves) and ridge or gable vents (at the top). Both should be clear of debris and unblocked by insulation. Signs of inadequate ventilation include frost forming on the roof deck in winter, excessive heat in summer, or moisture staining on rafters. For a detailed comparison of insulation options, see our insulation materials comparison.
Blocked soffit vents are one of the most overlooked causes of attic moisture damage.
Attic: Look for Roof Leak Evidence
The attic is often where a roof leak first becomes visible - before any stain appears on your ceiling below. During inspection, look for water staining on the roof deck (the plywood or OSB sheathing), daylight visible through the roof, or soft or spongy wood. After heavy storms, check for damp insulation, which compresses and loses its insulating value when wet.
Pay particular attention around penetrations - chimneys, skylights, vent pipes, and roof vents - as flashing failures at these points are a common leak source. If you notice active damage or suspect structural issues, contact a licensed roofing contractor. Attic access can be physically awkward and surfaces may be unstable - move carefully and stay on structural elements, not between joists.
Roof leaks often appear in the attic well before any water stain forms on interior ceilings.
Basement: Moisture Entry Points and Wall Cracking
Basements face moisture pressure from two directions: groundwater pushing through the foundation and condensation forming on cool surfaces in warm months. Start your inspection at the walls - look for efflorescence, staining, active seepage at cracks or mortar joints, and peeling paint that may indicate trapped moisture. Horizontal cracks in block or poured concrete walls can signal lateral soil pressure and warrant professional assessment.
Check the floor for dampness, especially in corners and along the base of walls. A simple test: tape a piece of plastic sheeting to the floor and wall for 24 hours. Moisture on the underside suggests water migrating through the concrete; moisture on the top side suggests condensation from humid air. These have different solutions, so identifying the source matters before acting. Our guide on identifying damp types explains how to tell them apart.
Horizontal wall cracks in a basement deserve professional evaluation - they can indicate soil pressure issues.
Basement: Plumbing, Sump Pumps, and Air Sealing
Basements concentrate a lot of mechanical systems in one space, which makes them ideal for a multi-purpose inspection. Check exposed pipes for drips, corrosion, or signs of past leaks - particularly around water heater connections, washing machine hoses, and any drain cleanout access points. For a thorough overview of what homeowners can check themselves, plumbing checks you can do without calling a plumber is a practical reference.
If your home has a sump pump, test it at least once a year by slowly pouring water into the sump pit to trigger the float. Sump pumps fail without warning, and a failed pump during a heavy rain event can cause significant flooding. Also look at where the rim joist (the framing at the top of the foundation wall) meets the floor system - this area is frequently uninsulated and a major source of air leakage. Sealing and insulating the rim joist is one of the higher-impact energy improvements available in older homes. For related guidance on air sealing techniques, see our article on sealing and weatherstripping.
Testing your sump pump annually takes minutes and could prevent thousands in flood damage.
Taking Action Before Problems Escalate
Each of these spaces rewards a simple habit: schedule a short walkthrough once a year, ideally in spring after the freeze-thaw cycle has done its work, and again in early fall before cold weather sets in. Document what you find with photos so you have a baseline for comparison.
If you're not sure whether what you're seeing is normal wear or something more serious, identifying the type of damp before spending on a fix can save significant money and frustration. Similarly, homeowners who skip these inspections in their first year tend to discover why that's a mistake - often at significant cost. What new homeowners often get wrong in their first year outlines the most common oversights.
For work involving structural components, electrical wiring, gas lines, or suspected mold, always consult a licensed professional. Many local jurisdictions also require permits for insulation or encapsulation projects - verify requirements with your local building department before beginning any significant work.
Start a Simple Inspection Log
Keep a dedicated notebook or folder - digital or physical - where you record the date, what you observed, and any photos taken during each inspection. Even a brief entry like 'no new staining, vapor barrier intact' gives you a valuable comparison point next year. If you ever sell the home, documented maintenance history is a meaningful asset.
The content on this site is for informational purposes only and is not a substitute for professional advice. Always consult a qualified professional for guidance specific to your situation.