

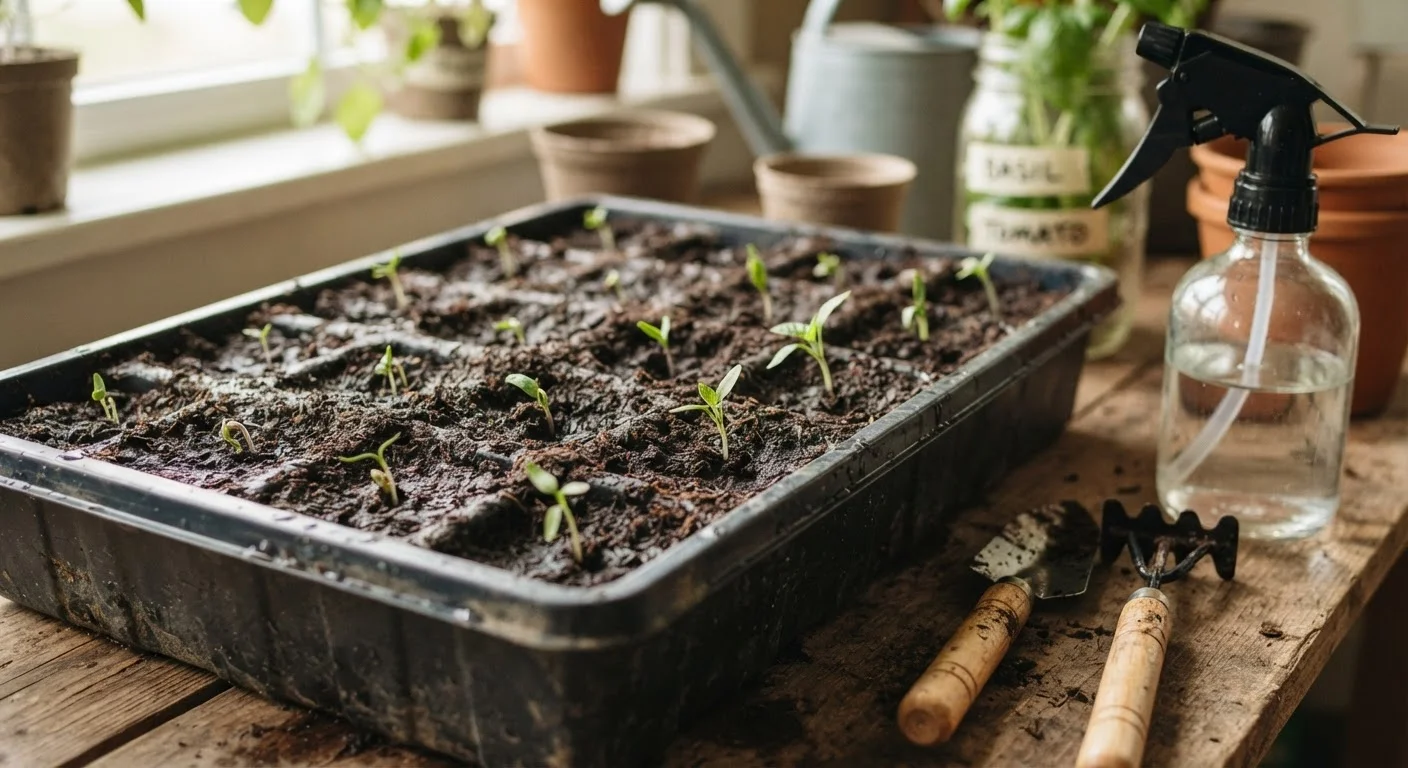
Why Germination Fails More Often Than It Should
Few gardening frustrations match the anticipation of planting seeds, then watching bare soil for weeks with nothing to show for it. The good news is that most germination failures trace back to a small handful of correctable mistakes - not bad luck or poor soil quality. Whether you're starting your first vegetable garden or troubleshooting a crop that stubbornly refuses to sprout, understanding why seeds fail is the first step to fixing it.
Seeds are not passive. Each one contains a living embryo that responds to specific environmental signals before it will germinate. Get those signals wrong and the seed simply waits - or dies. Below are the most common mistakes that interfere with those signals, and what you can do instead.
Planting seeds at the wrong soil temperature.
Why it happens: Gardeners often go by calendar date or air temperature rather than actual soil temperature, which can lag weeks behind in spring.
Sowing seeds at the wrong depth.
Why it happens: Many beginners either guess at depth or assume deeper means more protected. In reality, burying seeds too deep prevents the emerging seedling from reaching the surface before its energy reserves run out.
Allowing the soil surface to dry out between waterings.
Why it happens: Watering deeply but infrequently - the right approach for established plants - is exactly wrong for germinating seeds, which need the top inch of soil to stay consistently moist.
Using old or improperly stored seeds with low viability.
Why it happens: Seeds stored in humid or warm conditions - like a garage or kitchen shelf - age rapidly. Gardeners often replant leftover seeds from previous seasons without testing whether they're still viable.
Overwatering to the point of rotting seeds before they can sprout.
Why it happens: Worried that seeds might dry out, some gardeners water too heavily and too often, creating waterlogged conditions where fungal pathogens thrive and oxygen is forced out of the soil.
Fixing the Problem Before You Replant
Once you've identified the likely cause of failure, resist the urge to immediately re-sow into the same conditions. Take a few minutes to address the root issue first. Check soil temperature with an inexpensive probe thermometer - a $10 investment that removes all guesswork. Review your seed packet for the specific depth and spacing it calls for, since even half an inch can make a significant difference for small seeds.
Don't Replant Into Unresolved Conditions
Sowing a fresh batch of seeds into the same environment that caused the first failure will almost certainly produce the same result. Identify the specific variable that went wrong - temperature, moisture, depth, or seed age - and correct it before replanting. Rushing to re-sow without diagnosis wastes both time and seed.
If you suspect moisture is the problem, read up on watering frequency and technique before replanting. A consistent, gentle watering routine - keeping the surface moist but never waterlogged - is one of the most impactful adjustments you can make.
For seeds that have simply aged out, a fresh packet is the most reliable fix. To test viability before discarding a large batch, place 10 seeds between two damp paper towels and keep them warm for the expected germination window. Count how many sprout - a rate below 50% suggests the batch is not worth direct sowing at full density. Finally, avoid the temptation to follow informal gardening tips that haven't been verified; many popular gardening myths can send beginners in entirely the wrong direction.
Once your seeds are sprouting reliably, use a seasonal garden planning checklist to stay ahead of timing and preparation for future plantings.
The content on this site is for informational purposes only and is not a substitute for professional advice. Always consult a qualified professional for guidance specific to your situation.