

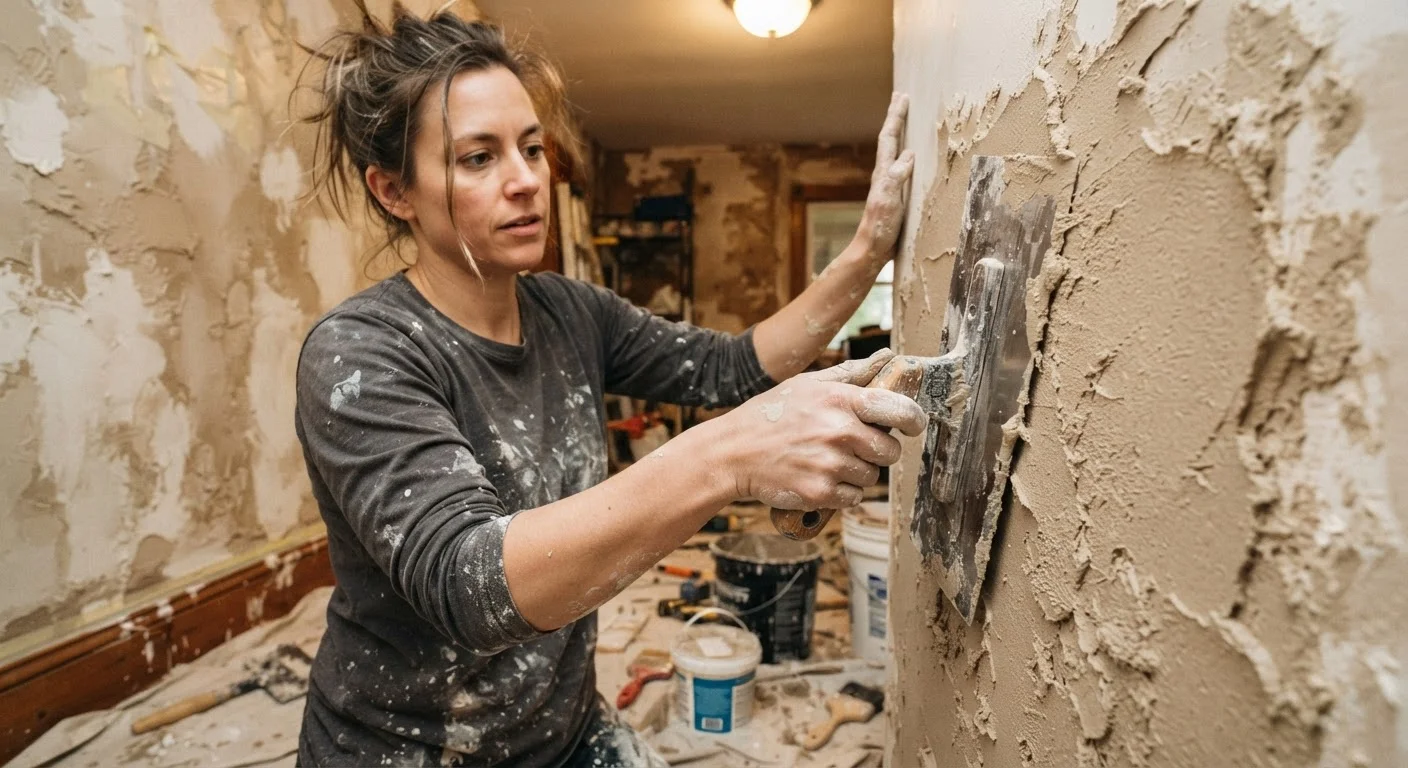
Why Plastering Trips Up First-Timers
Interior plastering has a reputation for looking straightforward - spread the mix, smooth it out, let it dry. In practice, it is one of the more technically demanding DIY skills a homeowner can attempt. The margin for error is narrow, the working time is short, and mistakes made in the first few minutes can be locked in permanently by the time you realize something is wrong.
If you are tackling plastering for the first time, it helps to understand not just what to do, but why things go wrong. Most first-attempt failures trace back to the same handful of missteps. Understanding them before you pick up a trowel is the single best preparation you can do. See our grounded introduction to DIY projects for foundational guidance on tools, safety, and knowing your limits before starting any hands-on project.
Common Plastering Mistakes and How to Avoid Them
The mistakes below appear consistently among first-time plasterers. Each one is correctable with the right preparation and awareness.
Skipping surface preparation and applying plaster directly to bare or dusty walls.
Why it happens: First-timers often focus on the plastering itself and underestimate how much the substrate affects adhesion. A clean, primed, and correctly dampened surface seems like a preliminary detail - but it is foundational.
Mixing plaster to the wrong consistency - either too runny or too stiff.
Why it happens: Without experience, it is difficult to judge the correct texture by sight. Many beginners add water progressively until the mix spreads easily, which typically means it is already too wet. Others, worried about waste, mix too little water and end up with a stiff, unworkable paste.
Applying too thick a coat in one pass, expecting to build the surface up quickly.
Why it happens: It seems efficient to fill a deep patch or cover a large area in one go. But plaster applied too thickly generates excessive heat as it sets and is prone to slumping, cracking, and poor adhesion at the base.
Timing the finish coat incorrectly - applying it too early or waiting too long.
Why it happens: There is a narrow window when the undercoat has firmed sufficiently to accept the finish coat but is not yet fully set. First-timers either rush the process or become distracted and miss the window entirely.
Ignoring temperature and ventilation during and after application.
Why it happens: Plastering is often treated as purely a materials-and-technique challenge. Room conditions are an afterthought - but they directly affect set time, drying rate, and the likelihood of cracking.
Overworking the finish coat - continuing to trowel after the plaster has begun to set.
Why it happens: The instinct is to keep smoothing until the surface looks perfect. But once plaster starts to pull and drag under the trowel, it has begun to set, and continued working tears the surface rather than improving it.
Even experienced homeowners benefit from revisiting fundamentals. The home maintenance myths article covers how overconfidence in DIY techniques leads to avoidable expenses - plastering is a prime example of that pattern.
When to Stop and Call a Professional
There is real value in attempting plastering yourself - you build knowledge, save on labour for smaller patches, and gain a sense of what the trade actually involves. But some situations genuinely call for a licensed plasterer. Large wall areas, ceilings, heritage lime-plaster systems, and surfaces with significant structural movement or damp issues are all contexts where DIY attempts can create more problems than they solve.
3-5 years
Typical apprenticeship for qualified plasterers
Plastering apprenticeships in the US and UK generally span several years of supervised practice, reflecting the skill level required for consistent professional results.
~30 min
Working time for standard finish plaster
Most gypsum-based finish plasters have a working time of roughly 30 minutes at room temperature, leaving little margin for error during application.
If your first attempt produces results that feel beyond salvaging, stop before applying subsequent coats. Scraping back and starting fresh on a small area is far less costly than building multiple layers over a flawed base. For a broader look at when doing it yourself makes sense and when it does not, the honest assessment of DIY home maintenance offers a practical framework. And if you are early in your homeownership journey, the beginner's guide to home maintenance provides a useful starting framework for prioritizing what to tackle yourself.
The content on this site is for informational purposes only and is not a substitute for professional advice. Always consult a qualified professional for guidance specific to your situation.