

Why Preventive Plumbing Checks Matter
Most plumbing problems don't appear without warning - they develop slowly and give off early signals that are easy to spot once you know what to look for. The challenge is that many homeowners wait until water is visibly dripping or a drain has fully stopped before taking action. By then, a minor fix may have become a costly repair.
Routine self-inspections don't require plumbing knowledge or specialized tools. They're about observation: running water, watching for drips, noticing changes in pressure or odor. Think of it as a quick health check for a system you rely on every day. As our home maintenance beginner's guide explains, understanding when to DIY and when to call a professional starts with knowing what's normal in your home.
The checks below are safe for most homeowners and don't involve touching supply lines, cutting into walls, or working with gas. If any inspection reveals a sign of active pipe failure, sewage backup, or water near electrical systems, stop and contact a licensed plumber.
What you will need
Step-by-Step Plumbing Inspection
Work through these checks room by room - starting in the kitchen, moving to bathrooms, then laundry areas and utility spaces. Taking notes as you go helps you track anything that changes between inspections.
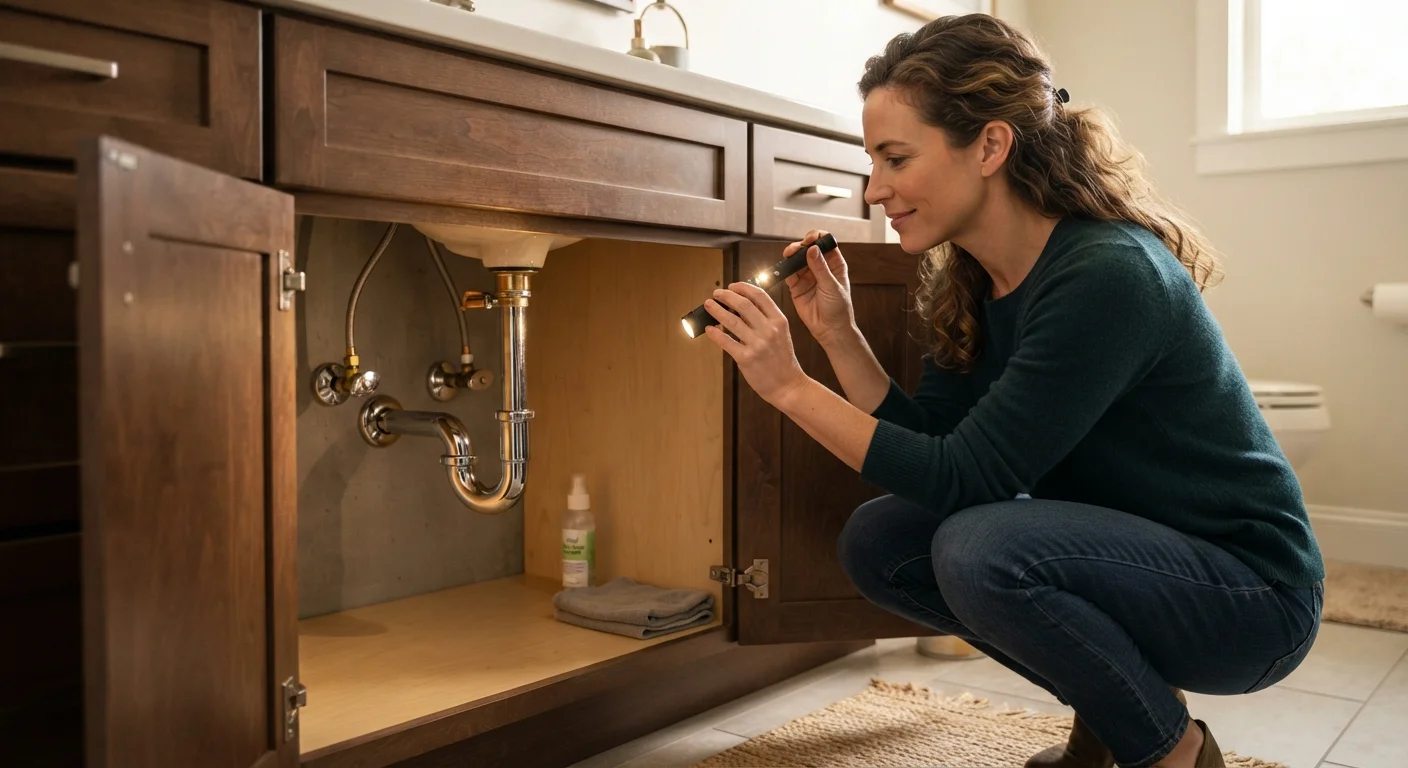
Check under every sink for moisture and staining
Open the cabinet under each sink in your kitchen and bathrooms. Wipe the bottom of the cabinet with a dry paper towel and look for any dampness, dark staining, or white mineral deposits on the pipes. These are signs of a slow drip at a joint or supply connection.
Pay particular attention to the curved section of pipe (the P-trap) directly below the drain - this is a common spot for minor leaks, especially after drain-cleaning products have been used repeatedly.
Test every drain for slow drainage
Fill each sink partially with water and let it drain while timing how quickly it clears. A healthy drain should empty a full basin in roughly 15-30 seconds. If water lingers or drains in a slow spiral, a partial clog is forming - usually from soap scum, hair, or grease buildup near the drain opening.
For shower or tub drains, remove the drain cover and use a flashlight to check for visible hair accumulation just below the surface. A drain snake or a simple plastic hair-removal tool can often clear these without chemicals.
Inspect toilets for silent leaks and running water
Remove the toilet tank lid and observe the water level and flapper (the rubber seal at the tank bottom). The water level should sit about one inch below the top of the overflow tube. If it's higher, water may be silently running into the bowl.
To confirm a flapper leak, add a few drops of food coloring to the tank and wait 10 minutes without flushing. If color appears in the bowl, the flapper isn't sealing properly. Flappers are inexpensive and straightforward to replace - this is one of the most common and fixable sources of wasted water in a home.
Assess water pressure at multiple fixtures
Turn on a faucet fully and observe the flow. Unusually low pressure at a single fixture often points to a clogged aerator - the small mesh screen at the faucet tip. Unscrew the aerator, rinse away mineral deposits, and reinstall. Low pressure across the entire house is a different matter and may require a plumber to evaluate the pressure regulator or supply line.
Note whether pressure drops noticeably when multiple fixtures run at once (e.g., shower while dishwasher runs). Some variation is normal; significant drops can suggest undersized supply lines or a partially closed main valve.
Inspect supply lines and shut-off valves
Behind each toilet and under each sink, locate the small braided or ribbed supply lines connecting to the wall valve. Run your fingers along each line and around the connection points, checking for any moisture or corrosion. Bulging or cracked supply lines should be replaced by a plumber promptly - they can fail suddenly.
Gently turn each shut-off valve under sinks and behind toilets a quarter turn clockwise, then back. Valves that haven't been operated in years can seize, which becomes a problem in an emergency. If a valve is stuck and won't turn freely, don't force it - note it for a plumber's visit.
Check outdoor hose bibs and visible pipe areas
Inspect each outdoor faucet (hose bib) for drips after disconnecting any hose. A dripping hose bib wastes water year-round and can freeze in winter if it's not a frost-free model. Also look at any exposed pipe runs in the basement, utility room, or garage for corrosion, staining, or signs of past sweating (condensation that left watermarks).
If your home has a crawl space, this is also a good time to check whether any supply or drain lines are visible and intact - our article on what to look for in crawl spaces and basements covers this in more detail.
Don't Ignore Multiple Warning Signs at Once
If your inspection turns up slow drains in several rooms, low pressure throughout the house, and a persistent sewer smell, these may be connected symptoms rather than isolated issues. Treating each one separately could mask an underlying main-line problem. In this situation, a professional inspection is the safer and more cost-effective next step. Avoid using chemical drain openers broadly - they can damage older pipes and obscure symptoms a plumber needs to diagnose accurately.
When to Stop and Call a Professional
These inspections are designed to surface early-stage issues - not to replace a licensed plumber's assessment. There are clear signs that indicate professional help is needed:
- Water stains on ceilings or walls suggest a leak inside a wall cavity or from an upstairs fixture.
- Sewer odors anywhere in the home can indicate a failed P-trap, a dry floor drain, or a more serious venting issue.
- Multiple slow drains throughout the house at the same time may point to a main sewer line problem rather than individual clogs.
- Discolored or rusty water from multiple fixtures warrants professional evaluation of your pipes or water heater.
It's also worth checking out-of-sight areas periodically. Our guide on inspecting crawl spaces, attics, and basements covers what moisture and pipe damage can look like in areas most homeowners rarely visit.
Staying proactive with these checks is one of the simplest ways to avoid the situations described in common home maintenance myths - where small, ignorable problems quietly grow into expensive repairs.
This article provides general home maintenance information only. Plumbing work that involves permits, gas lines, sewage systems, or structural components should always be carried out by a licensed professional. Verify local code requirements before attempting any repair beyond routine inspection.
The content on this site is for informational purposes only and is not a substitute for professional advice. Always consult a qualified professional for guidance specific to your situation.