

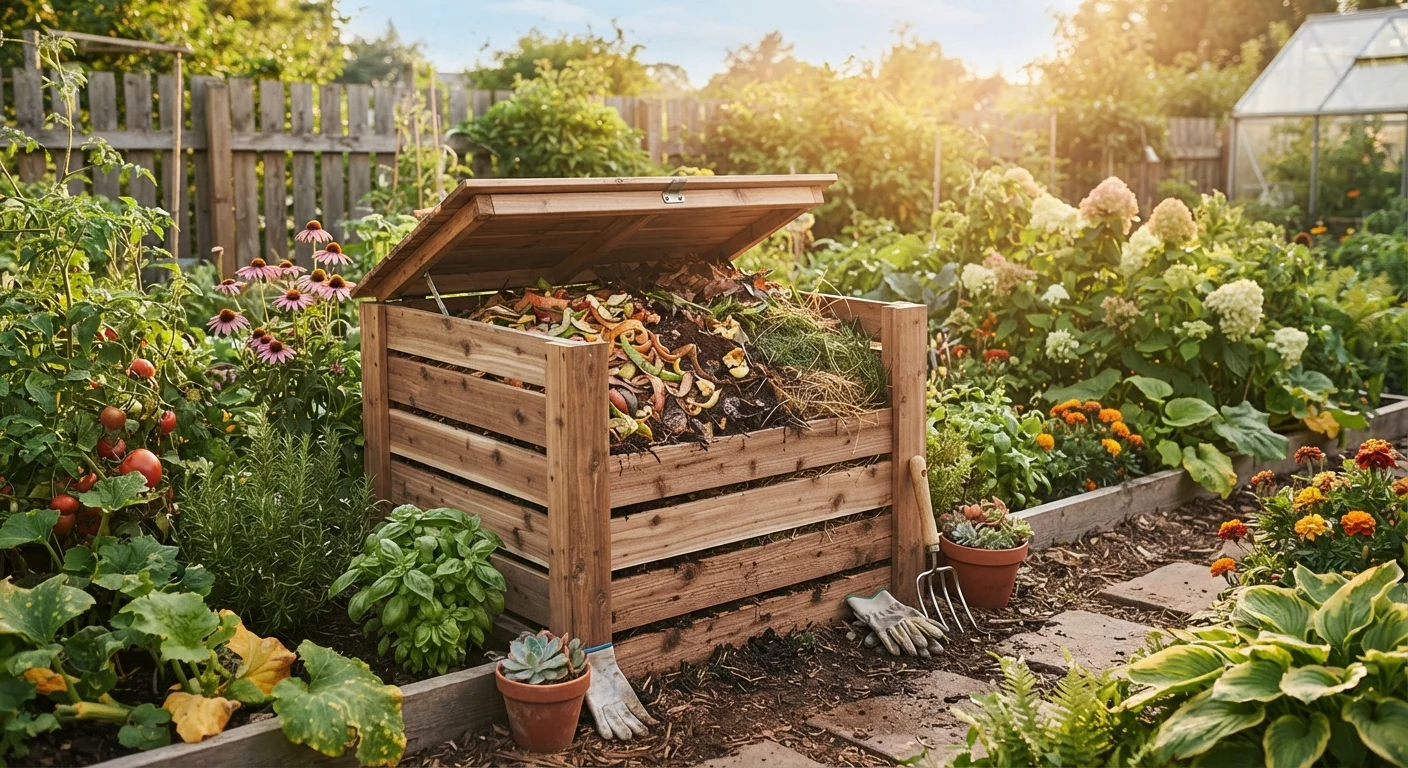
Why Home Composting Is Worth the Effort
Composting is one of the highest-return habits a home gardener can develop. Instead of sending vegetable peels, coffee grounds, and fallen leaves to landfill, you convert them into a dark, crumbly material that genuinely improves your soil. Understanding what compost actually does - versus what mulch or fertiliser does - helps set realistic expectations. Our article on compost, mulch, and fertiliser breaks down how each amendment works and when to reach for it.
For beginners, the most important thing to know upfront is this: composting is a biological process, not a precise science. Microbes, fungi, and invertebrates do the actual work. Your job is simply to give them the right conditions - food, moisture, and air.
What you will need
What You'll Need Before You Start
You don't need much equipment to begin, but a few basics will make the process faster and more manageable. Choose a location that is reasonably convenient to your kitchen and garden - you're more likely to maintain it if it doesn't feel like a chore to reach. A spot with partial shade works well; full sun dries out the pile, while deep shade can slow microbial activity.
Compost bin or enclosure
Keeps the pile contained, retains moisture and heat, and discourages pests.
Garden fork or compost aerator
Used to turn and aerate the pile, which speeds up decomposition.
Watering can or garden hose
Maintains the moisture level needed for microbial activity.
Small kitchen compost caddy
Collects food scraps on your counter so you can batch-transfer them to the outdoor bin.
Compost thermometer
Lets you monitor internal pile temperature to confirm active decomposition.
Step-by-Step: Building and Managing Your Compost System
Follow these steps to get your compost pile started correctly. Each stage builds on the last, so resist the urge to skip ahead.
Choose and position your bin
Select a spot that sits directly on soil or grass rather than concrete, if possible - this allows worms and beneficial organisms to enter from below. Place the bin at least a few feet from your home's foundation and away from wooden fencing to prevent moisture damage. A 3-foot by 3-foot footprint is generally the minimum size needed to generate enough heat for efficient decomposition.
Layer your starting materials
Begin with a 4-6 inch layer of coarse browns at the base - wood chips, straw, or shredded cardboard work well. This creates airflow. Follow with a 2-3 inch layer of greens (fresh grass clippings, vegetable scraps, coffee grounds). Alternate layers as you add material over time. A rough target ratio is about 3 parts browns to 1 part greens by volume.
- Browns (carbon-rich): dry leaves, cardboard, newspaper, straw, wood chips
- Greens (nitrogen-rich): fruit and vegetable scraps, fresh grass clippings, coffee grounds, tea leaves
- Keep out: meat, fish, dairy, oily foods, pet waste, diseased plants
Moisture-check your pile
Squeeze a handful of material from the middle of the pile. It should feel like a wrung-out sponge - damp but not dripping. If it's dry and crumbly, water lightly and turn. If it's soggy or smells off, add more dry browns and aerate. Consistent moisture is one of the biggest factors separating a fast pile from a stalled one.
Turn the pile regularly
Use a garden fork to turn the pile once every one to two weeks, moving material from the outer edges toward the centre. The centre is where decomposition is hottest and fastest. Turning introduces oxygen, which microbial populations need to thrive and prevents anaerobic conditions that cause foul odours.
Recognise and harvest finished compost
Finished compost is dark brown or black, crumbly in texture, and smells like fresh earth - not like rotting food. Most home piles reach this stage in two to six months depending on conditions and how often you turn them. When the majority of the material has transformed, stop adding fresh scraps and allow the remainder to finish. Use a garden sieve to screen out any larger unfinished pieces and return them to the active pile.
Troubleshooting Common Compost Problems
Most compost problems trace back to one of three imbalances: too wet, too dry, or the wrong ratio of greens to browns. Use the table below as a quick-reference guide.
| Symptom | Likely Cause | Fix |
|---|---|---|
| Pile smells like ammonia | Too many greens (nitrogen) | Add more browns; turn the pile |
| Pile smells like rotten eggs | Too wet or compacted | Add dry browns; aerate with a fork |
| Nothing is breaking down | Too dry or too many browns | Add water and fresh greens; turn |
| Pile attracts pests | Food scraps exposed on surface | Bury scraps in the centre; avoid meat and dairy |
Once your compost is ready - dark, crumbly, and earthy-smelling - it's a natural next step to apply it in a new growing area. Our guide to starting a vegetable garden from scratch explains how to work compost into new beds before planting. If you're gardening in a smaller space, see our tips on growing food on balconies and patios - container gardens benefit enormously from homemade compost.
The content on this site is for informational purposes only and is not a substitute for professional advice. Always consult a qualified professional for guidance specific to your situation.